
Pumpkin Pie Cheesecake
Yield: 8 servings / Level: Easy
Prep Time: 15 minutes / Cook Time: 40 minutes / Refrigeration Time: 8 hours
Total Time: 55 minutes

Cheesecake and pumpkin pie merge for this decadent holiday treat! The crust is made from my gluten free graham crackers keeping this entire dessert gluten free and refined sugar free. This cheesecake is several layers of flavor with a cheesecake layer, a pumpkin pie cheesecake layer and finished with a maple whipped cream. I recommend making this simple recipe the day before serving as it needs at least 8 hours of refrigeration time.
Crust Ingredients:
1 1/2 cups finely ground graham crackers. I used my homemade gluten free graham crackers for this recipe. You can also use store-bought.
4-6 Tbsp unsalted butter, melted. The amount will depend on whether you are using homemade or store-bought graham crackers.
Filling Ingredients:
16oz cream cheese (two containers), room temperature.
2/3 cup coconut sugar
1/2 tsp vanilla extract
2 eggs, room temperature.
1/2 cup pure pumpkin. I used fresh pumpkin from a pie pumpkin I roasted and cooled down. You can use canned pumpkin, which may be preferable because it will give you a nice orange color for the pumpkin pie layer.
2 tsp pumpkin pie spice
Here is my recipe for pumpkin pie spice:
1 tsp cinnamon
1/2 tsp ground ginger
1/4 tsp ground nutmeg
1/4 tsp ground allspice or clove).
Whipped Topping Ingredients:
3/4 cup heavy whipping cream
1 Tbsp maple syrup
Ground cinnamon for garnish

Method:
Preheat oven to 325°F.
To make the graham cracker crust, blend graham crackers in a blender until finely ground.
Put the 1 1/2 cups of finely ground graham crackers in a small to medium bowl.


Slowly add melted butter and mix into the graham cracker crumbs until it resembles wet sand. If you are using homemade graham crackers you will need less butter, about 4 Tbsp, and if you are using store-bought graham crackers you will need closer to 6 Tbsp of melted butter.


In a large bowl to a stand mixer, beat the cream cheese, coconut sugar and vanilla extract together using the paddle attachment.
Add in one egg at a time making sure they are completely mixed in.


Pour half of the batter on top of the graham crackers crust.
Return the mixing bowl with the rest of the filling to the stand mixer.


Add in the pumpkin purée and pumpkin pie spice to the leftover filling. I mixed the pumpkin pie spice into the pumpkin purée before adding it to the filling, that is why it looks so dark in the photo.
Mix until combined.


Pour the pumpkin pie cheesecake filling on top the the cheesecake layer being careful not to disturb the bottoms layer.
Smooth out using a rubber spatula.


Baked in a 325°F oven for about 40 minutes or until the edges are set with the middle being slightly jiggly.
In order to prevent cracking, you want to let the cheesecake gently cool down. You can do this by turning off the oven and opening the oven door once the cheesecake is finished baking. After a few minutes to an hour you can move the cheesecake to a cooling rack. Other ways to prevent cracking is to make sure all your ingredients are at room temperature and avoid over mixing your cheesecake filling which could add a lot of air into the batter.
Once your cheesecake is completely cooled, place it in the refrigerator for about 8 hours, or overnight. Do not remove it from the spring form pan before placing in the refrigerator.

As you can see, my cheesecake did crack a bit. I could have been more patient with letting it cool in the oven, however I was not too concerned because the top will be covered with whipped cream.
After 8 hours or the next morning, take a butter knife and run it between your spring form pan and cheesecake to release the edges.
Remove the top of the spring form pan.

Whip the heavy cream using your stand mixer with the whipping attachment. Make sure the heavy cream is cold. .
With the mixer still running, drizzle in the maple syrup.
Whip until you get the desired consistency of whipped cream being careful not to over whip creating butter by accident.

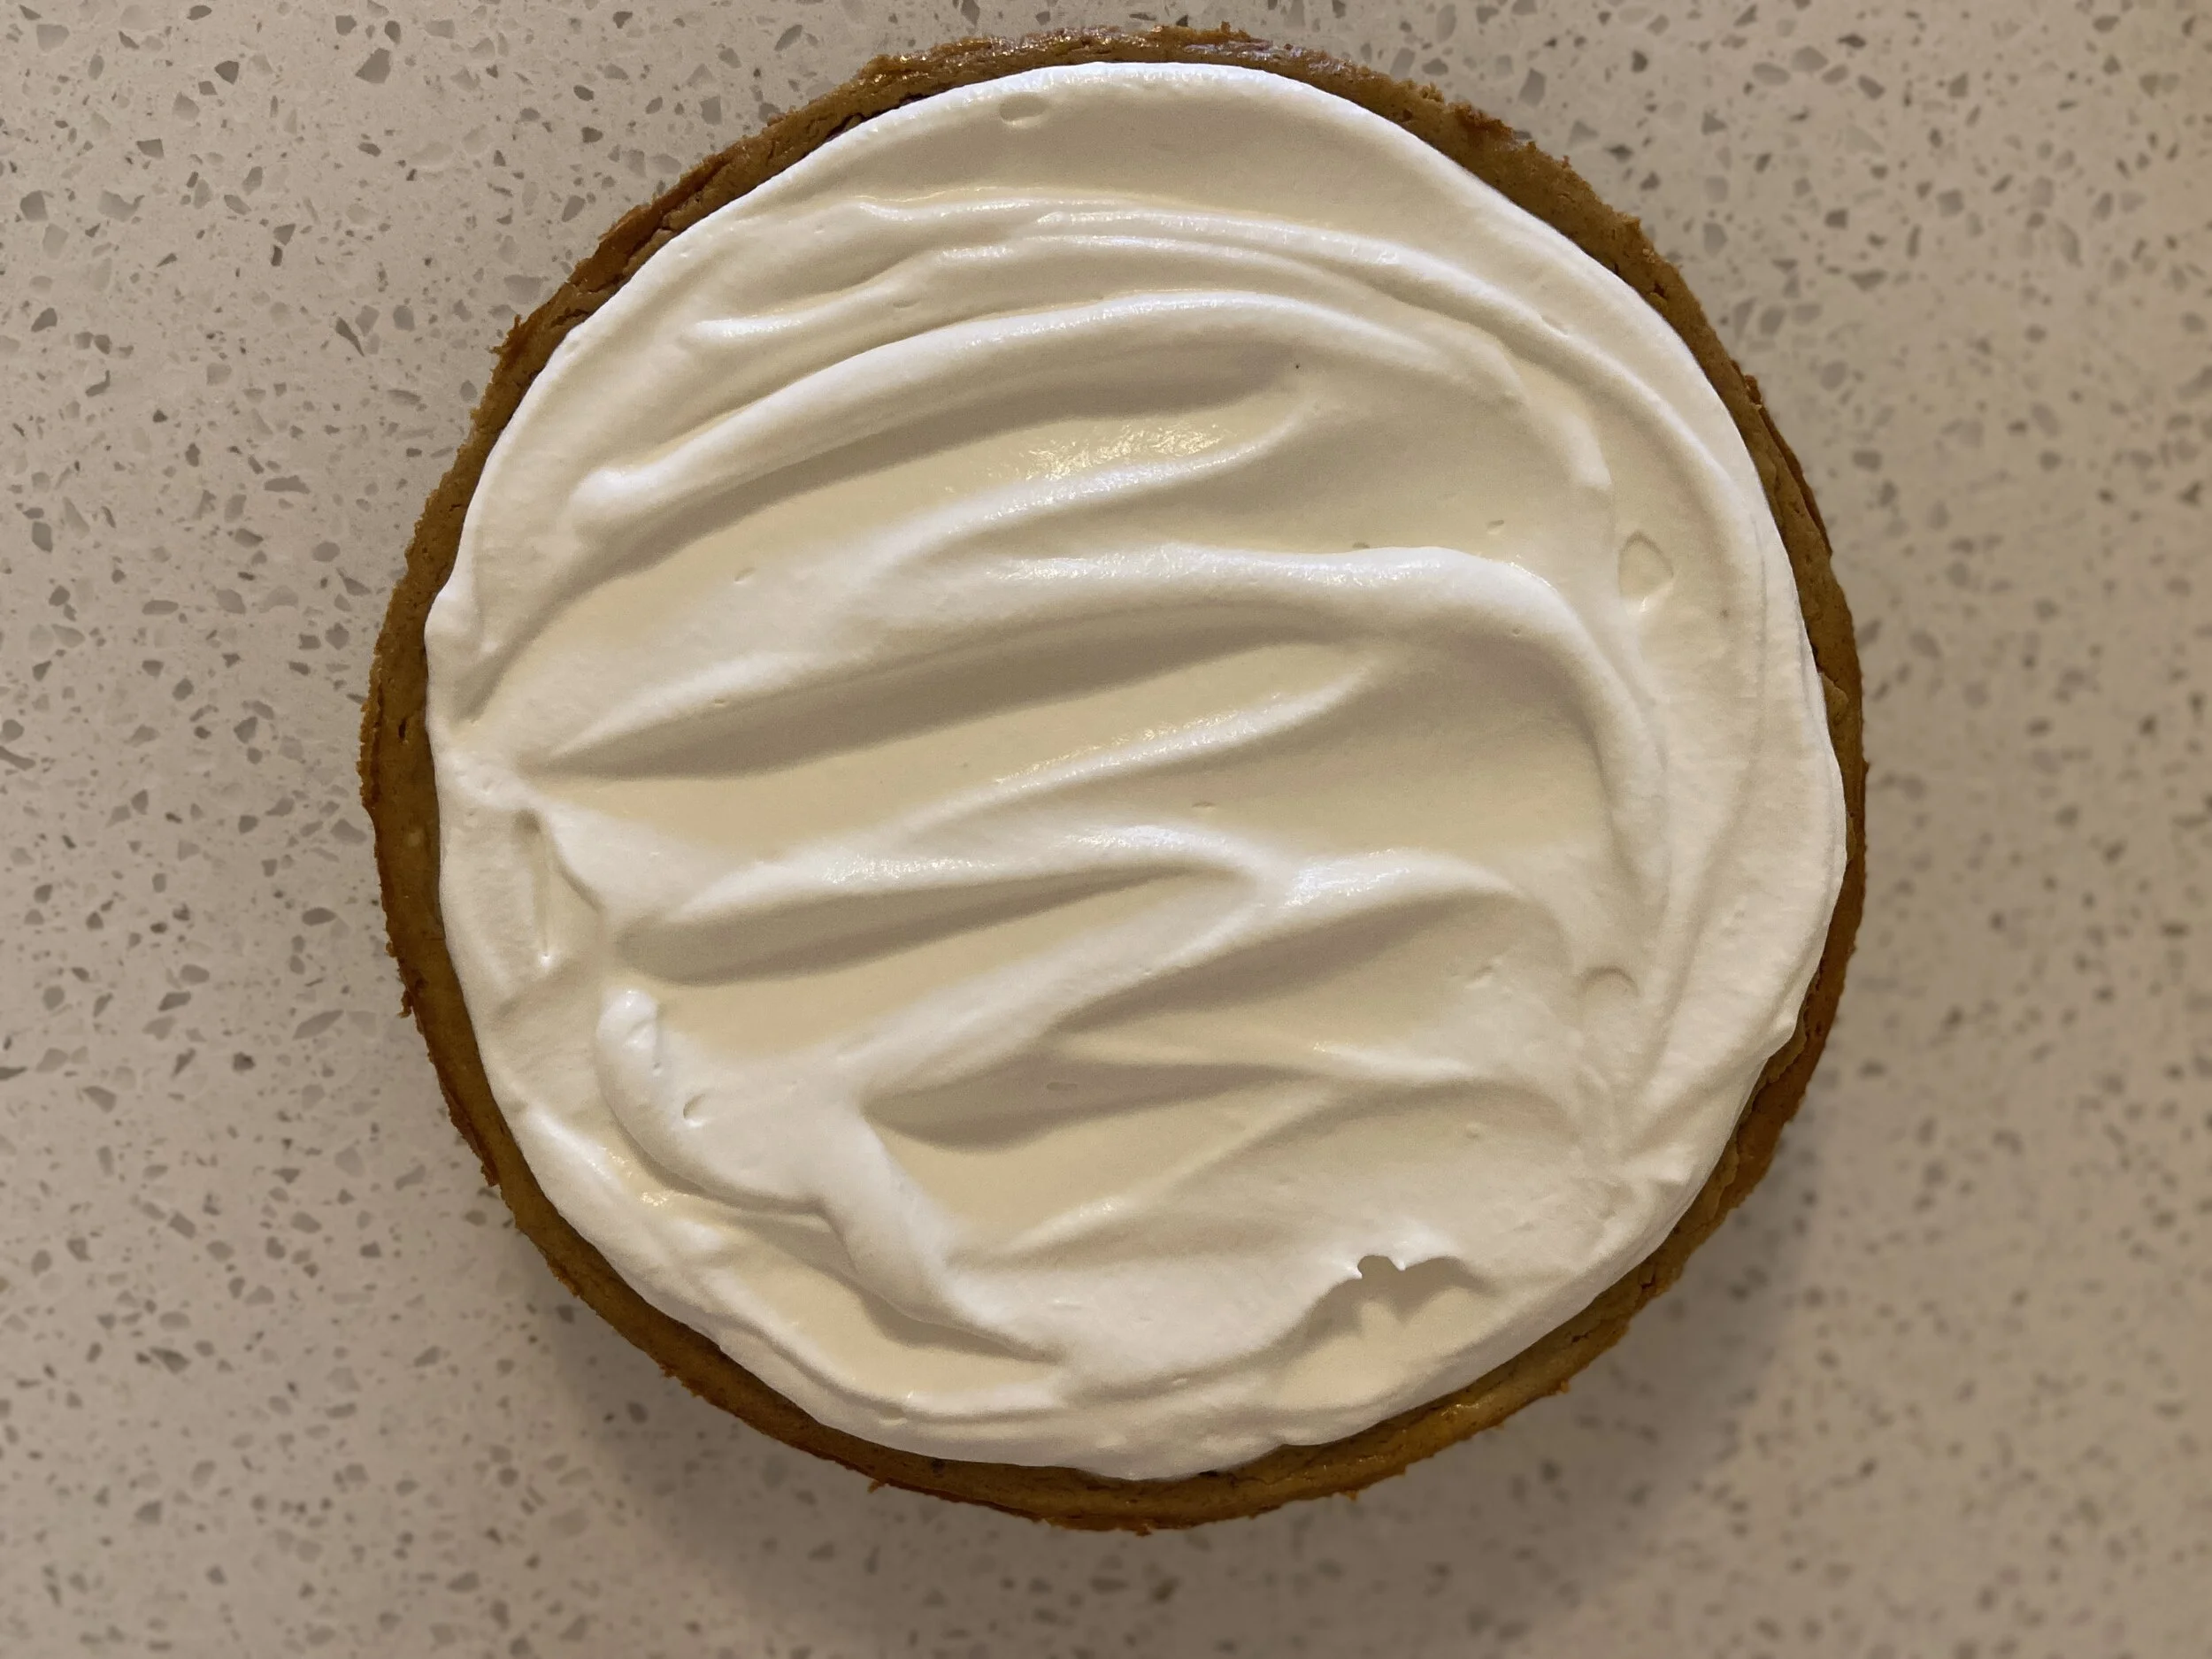
Spread the whipped cream on top of your cheesecake and smooth out using a spatula.
Dust the top with ground cinnamon.

Enjoy!


Here is a close up of how the two layers look. I really enjoyed the more subtle natural look of this, however you can achieve better color contrast by using a canned pumpkin purée that has a vibrant orange color such as Libby’s.